
What better place to start than with a food staple that seems to get an awful lot of peoples’ knickers, speedos (or whatever undergarments you favour whilst cooking), in a bit of a twist.
There are whole books on the subject and most recipes come with such complicated instructions you’d be forgiven for thinking that it’s actually a bit of a fiddly thing to do.
It’s not.
Sure, there are many different types of bread that can be made, some of which will require a bit more work but a bog standard (very tasty thank you very much) loaf is unbelievably easy to make.
So please forget all this confusing nonsense about exacting proofing times and near endless flipping kneading, it’s all quite unnecessary. Save yourself time and frustration by doing things the badly behaved, slacker way instead.
The low down
1 – Why not stick on some tunes and dig out a very large mixing bowl, a packet of fast-action yeast and some bread making flour then you are good to go.
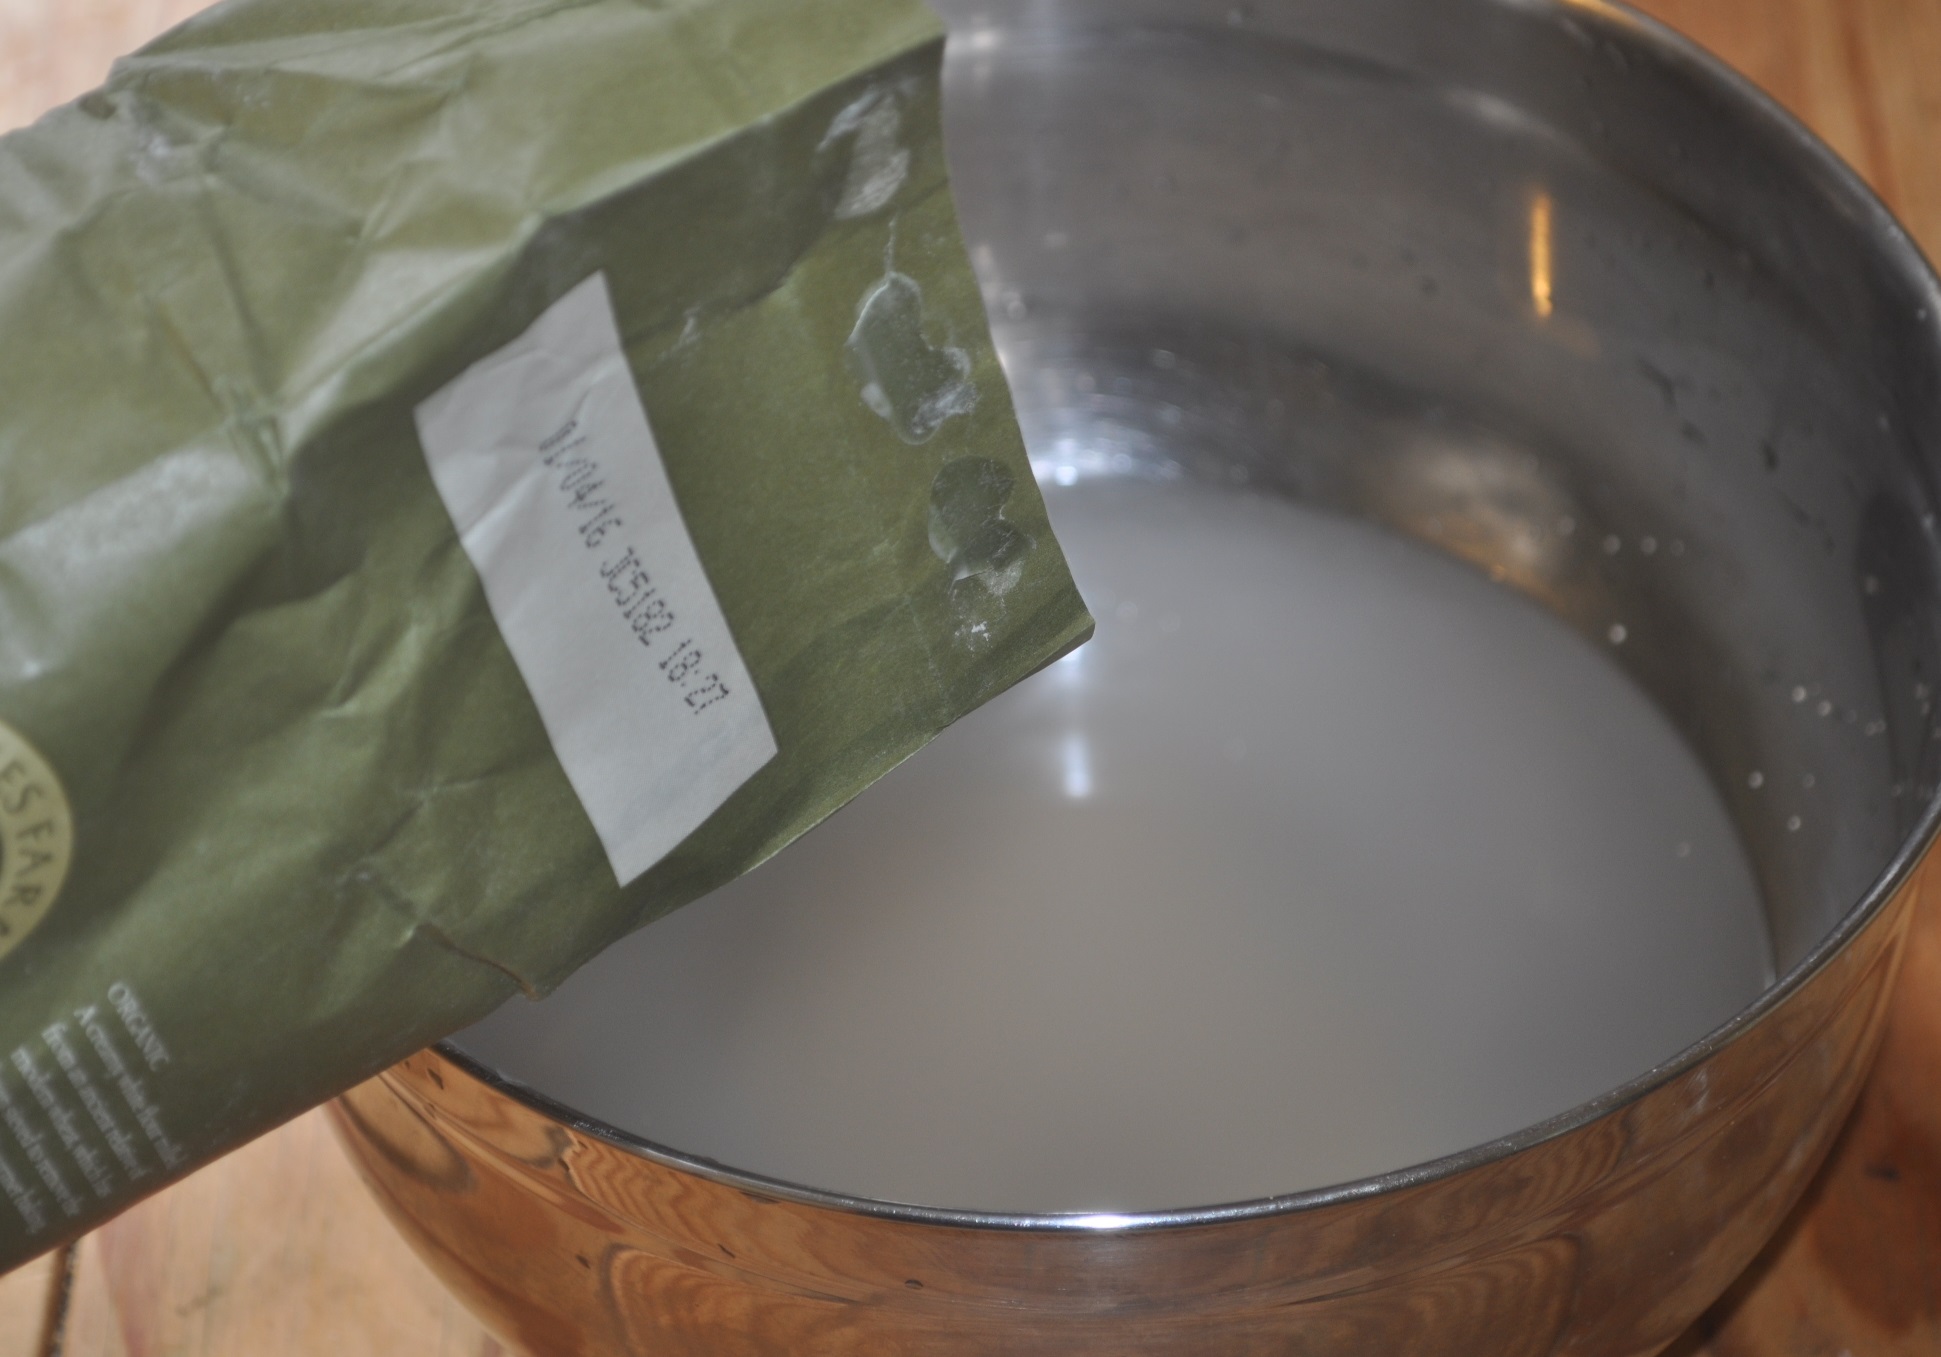
2 – Pour as much water as you think you’ll need to make a loaf of bread into your bowl (go on guess it’s fun) and sprinkle a teaspoon of your dried yeast into it before giving it all a little stir. How much water you use depends on how big you want your loaf to be and you can just make it up as you go along. Freestyling like this gives you a better understanding of how it works and it’s dead easy to do.
If all of this off-roading with measurements freaks you out then, till you get used to it, I’d suggest using a small 1kg packet of flour which’ll make you a huge mother of an impressive loaf and build your confidence no end. Also you might want to go a bit easy on the water at first – you can always add more in later.
Lukewarm water will help get the yeast all excited and up for making the dough rise quickly, as will a dash of sugar or molasses mixed in and left for a couple of minutes before using, but if you can’t be arsed with that then don’t worry because as long as the water isn’t freezing cold or too warm it’ll do its thing anyway regardless.
3- Tip in as much flour as you think you’ll need and get stuck in, stirring it around with your hand (or hands) until it starts to form a sort-of ball of dough. If it’s really sticking to your hands then add a bit more flour and knead it in. If it’s a bit dry- looking then add a splash of water. Once it’s formed a good-looking silky-smooth ball of dough – that’s all you need to do for now. Pop a plastic bag, a tea towel or cling film over the top and put it somewhere in your kitchen to rise.

Kick back time
Then as long as you’ve used a large bowl with plenty of room for your dough to spread out into (and not out of) – you can utterly forget about clock watching and go off and do something else instead. Go down the pub, go off to work, go scratch your arse (repeatedly), go back to bed or do whatever you like because you can come back to the next stage later in the day or indeed overnight and it won’t matter a jot.
This is lazy bread making at its best.
If however you want a loaf in a hurry then just add two teaspoons of yeast and definitely use lukewarm water and a dash of sugar or molasses for a super powered boost.
Ready to bake
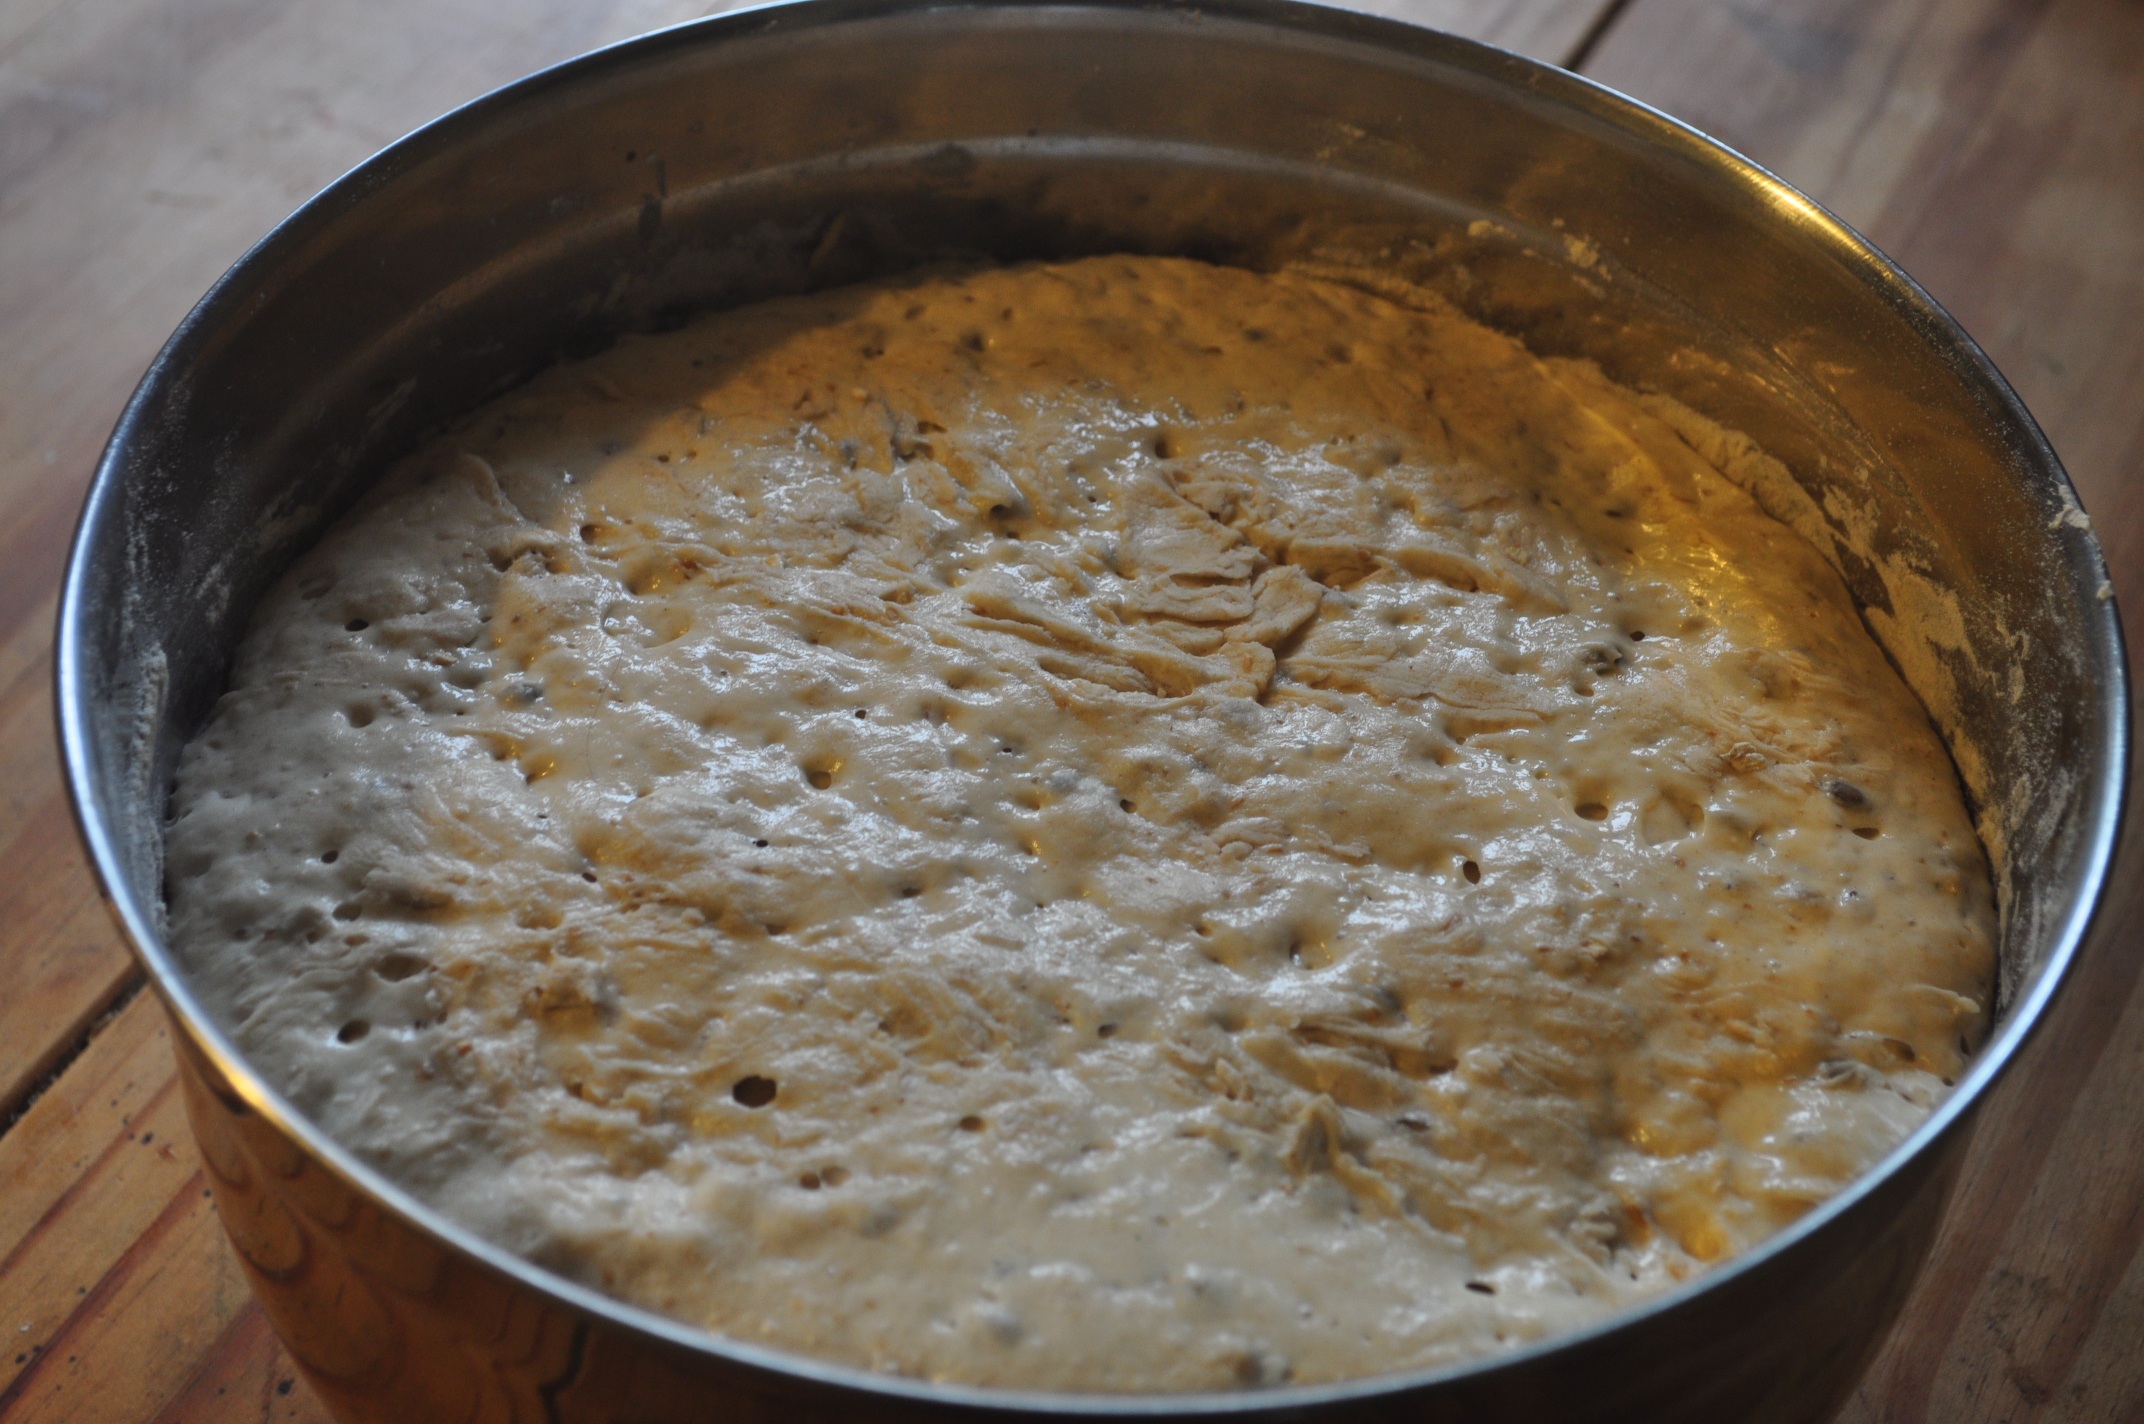
As long as the dough has doubled or more in size you’re ready to get baking. Oil a bread tin or baking tray and gently press down your creation till it reduces back down to size before tipping it in and shaping it as you want. Switch on the oven (to about 200 degrees C, 400 ish degrees F) and leave the dough to rise again for about 30 mins before sticking it in.
The bigger the bread the longer it’ll take to cook but about 45 mins to an hour is normally enough. You can tell when it’s ready because it looks cooked and when you tap the base it feels firm and sounds hollow.
Tips and tricks
White flour is easier to work with as it’ll rise majestically so this is a good one to start with until you get into the swing of things.
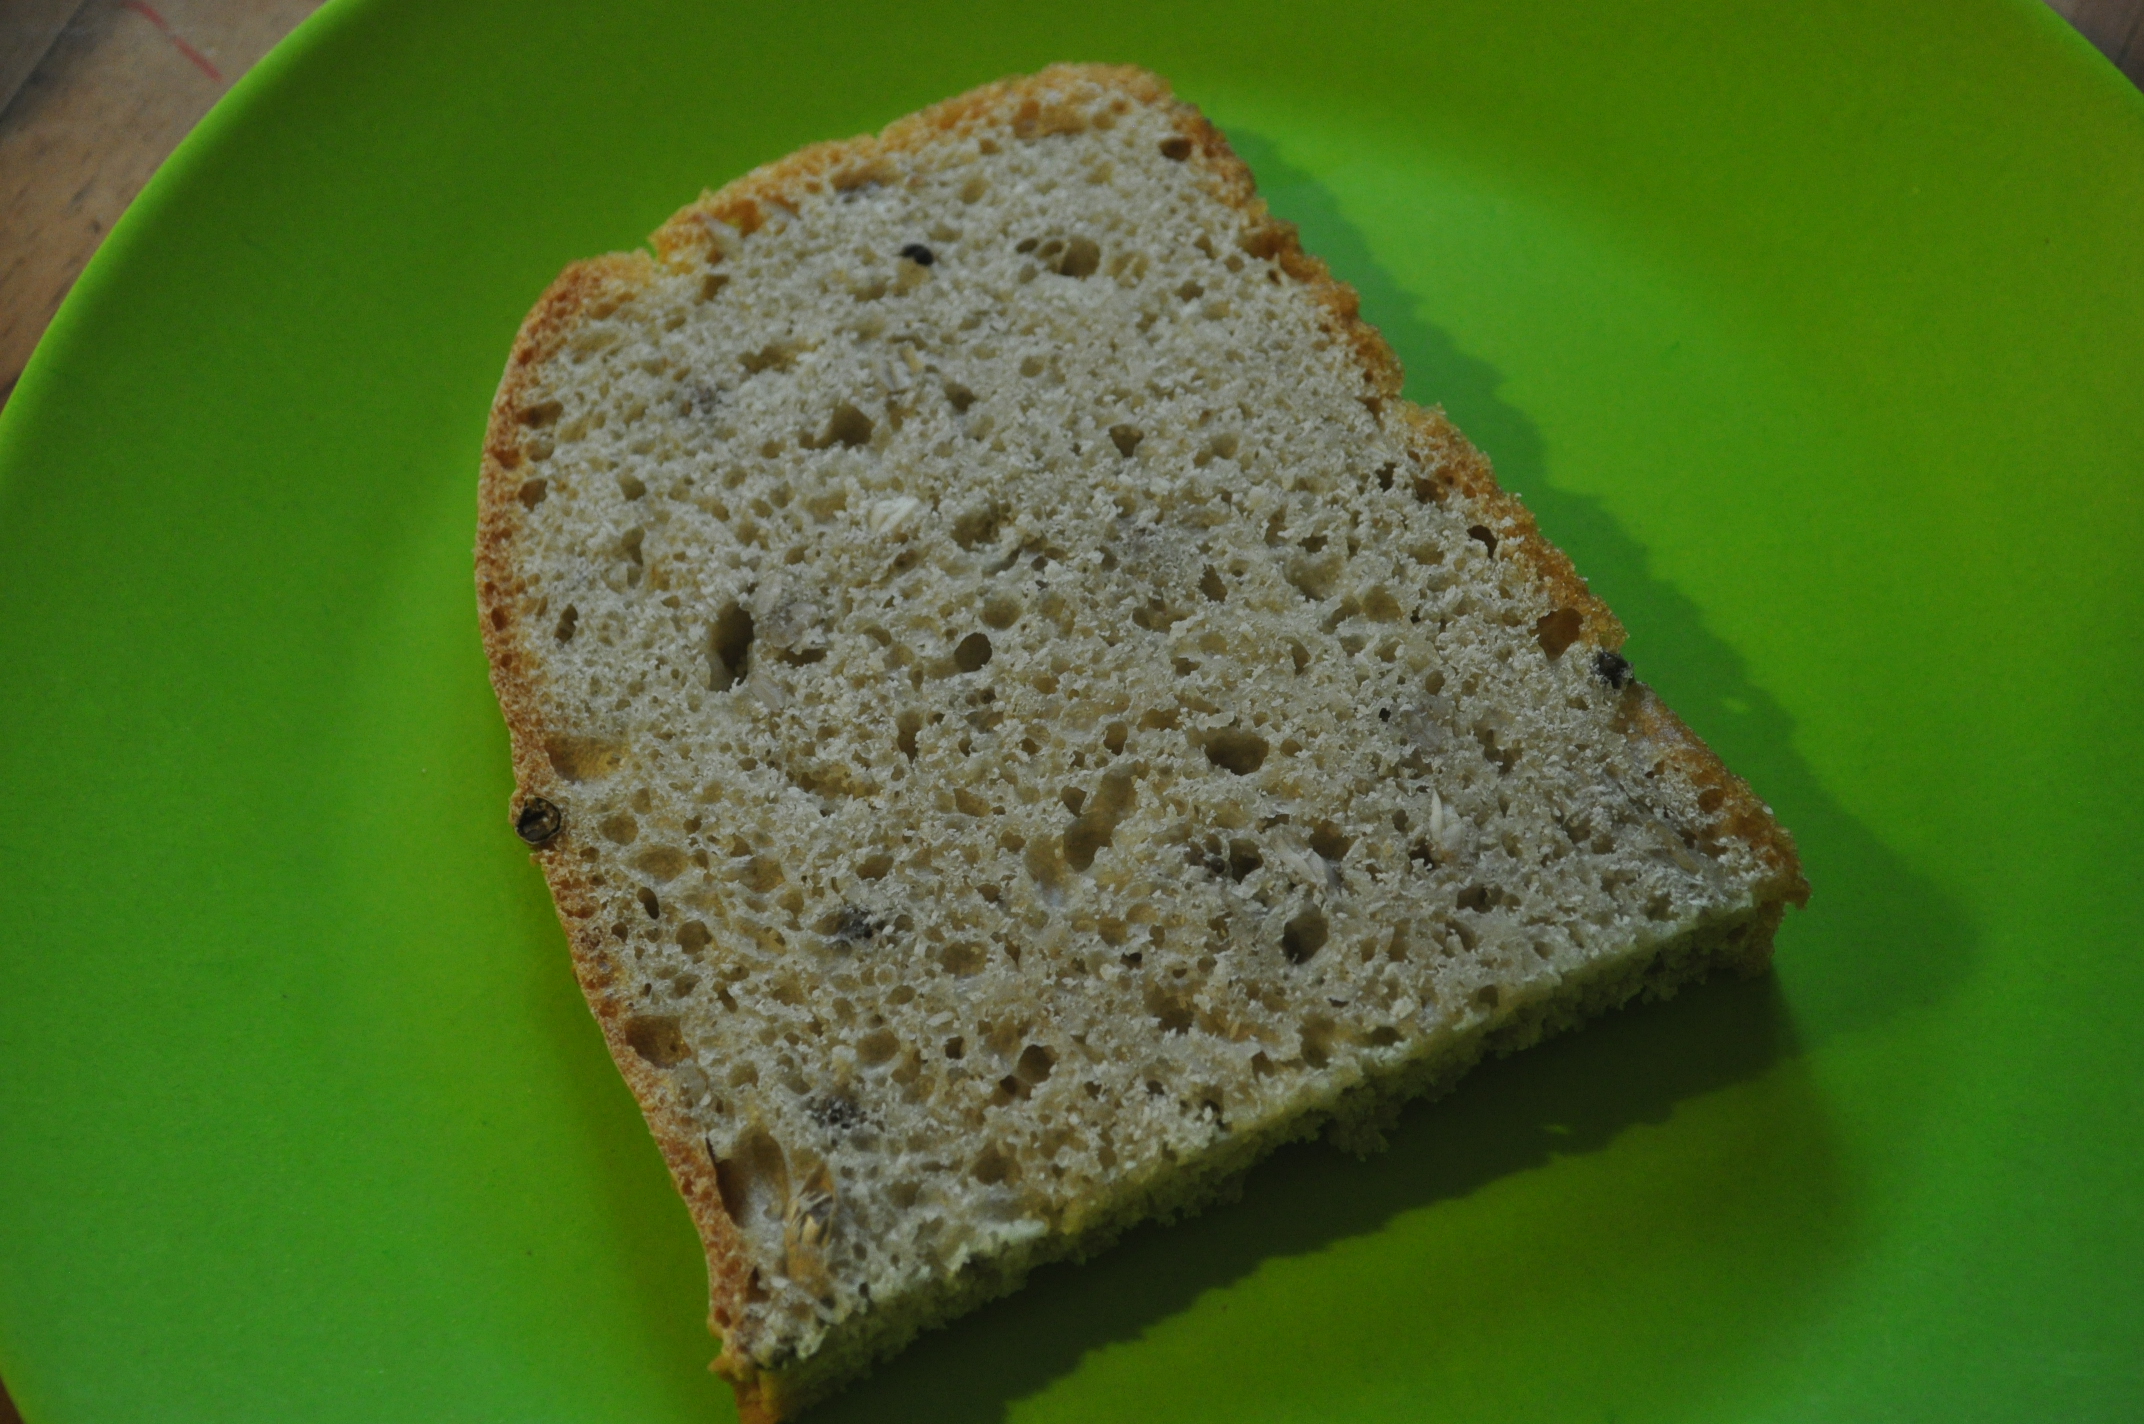
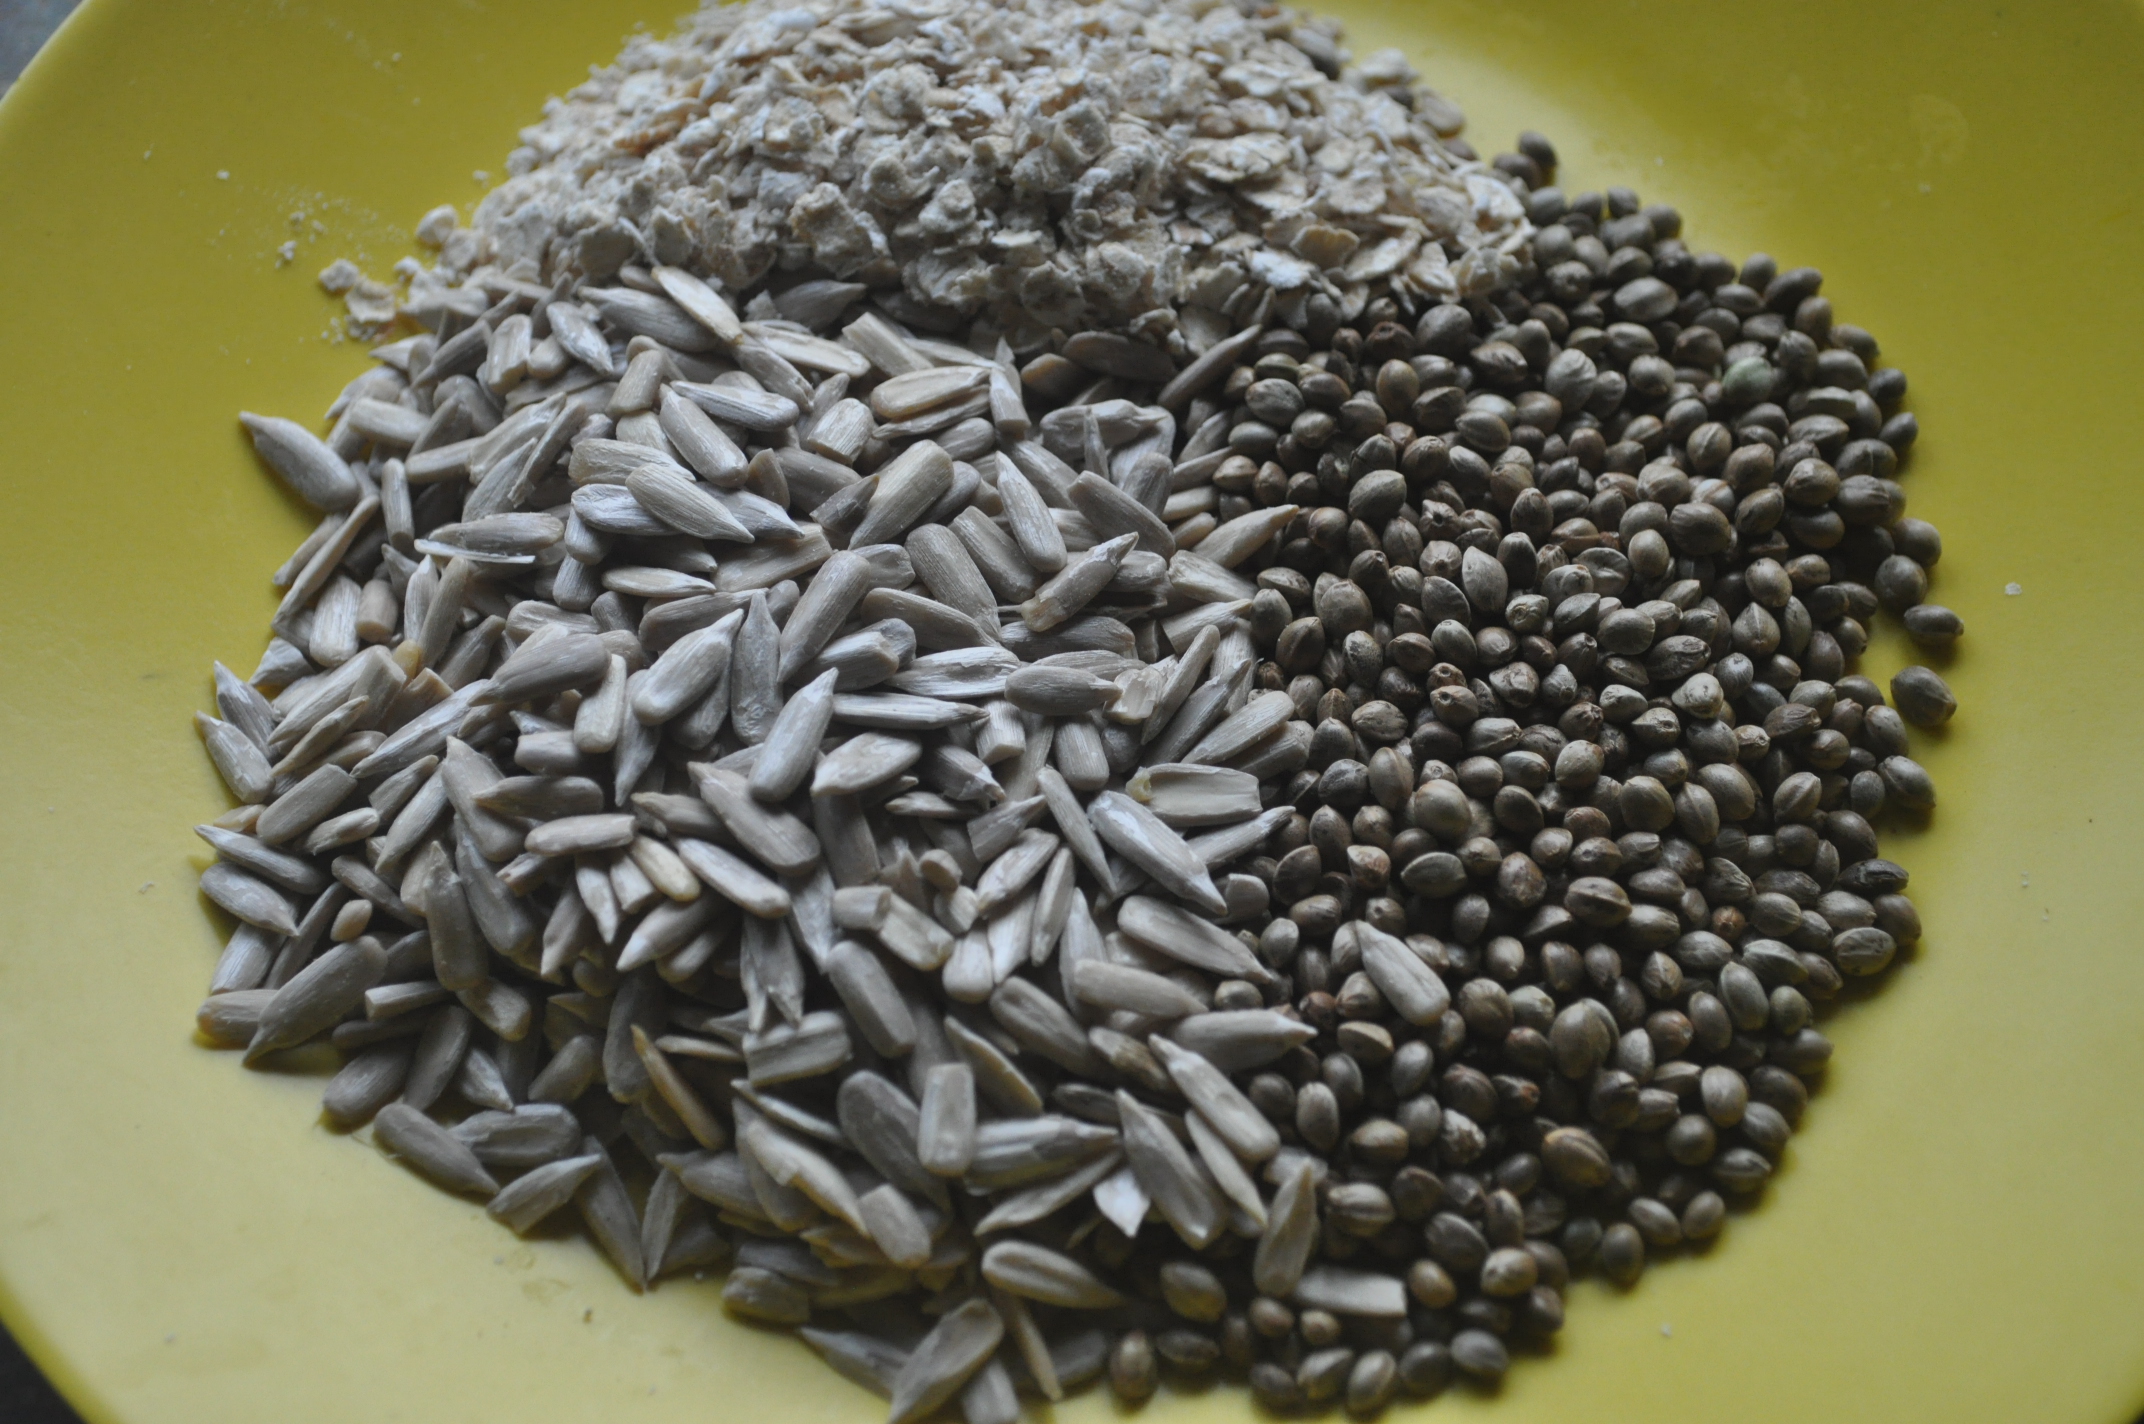
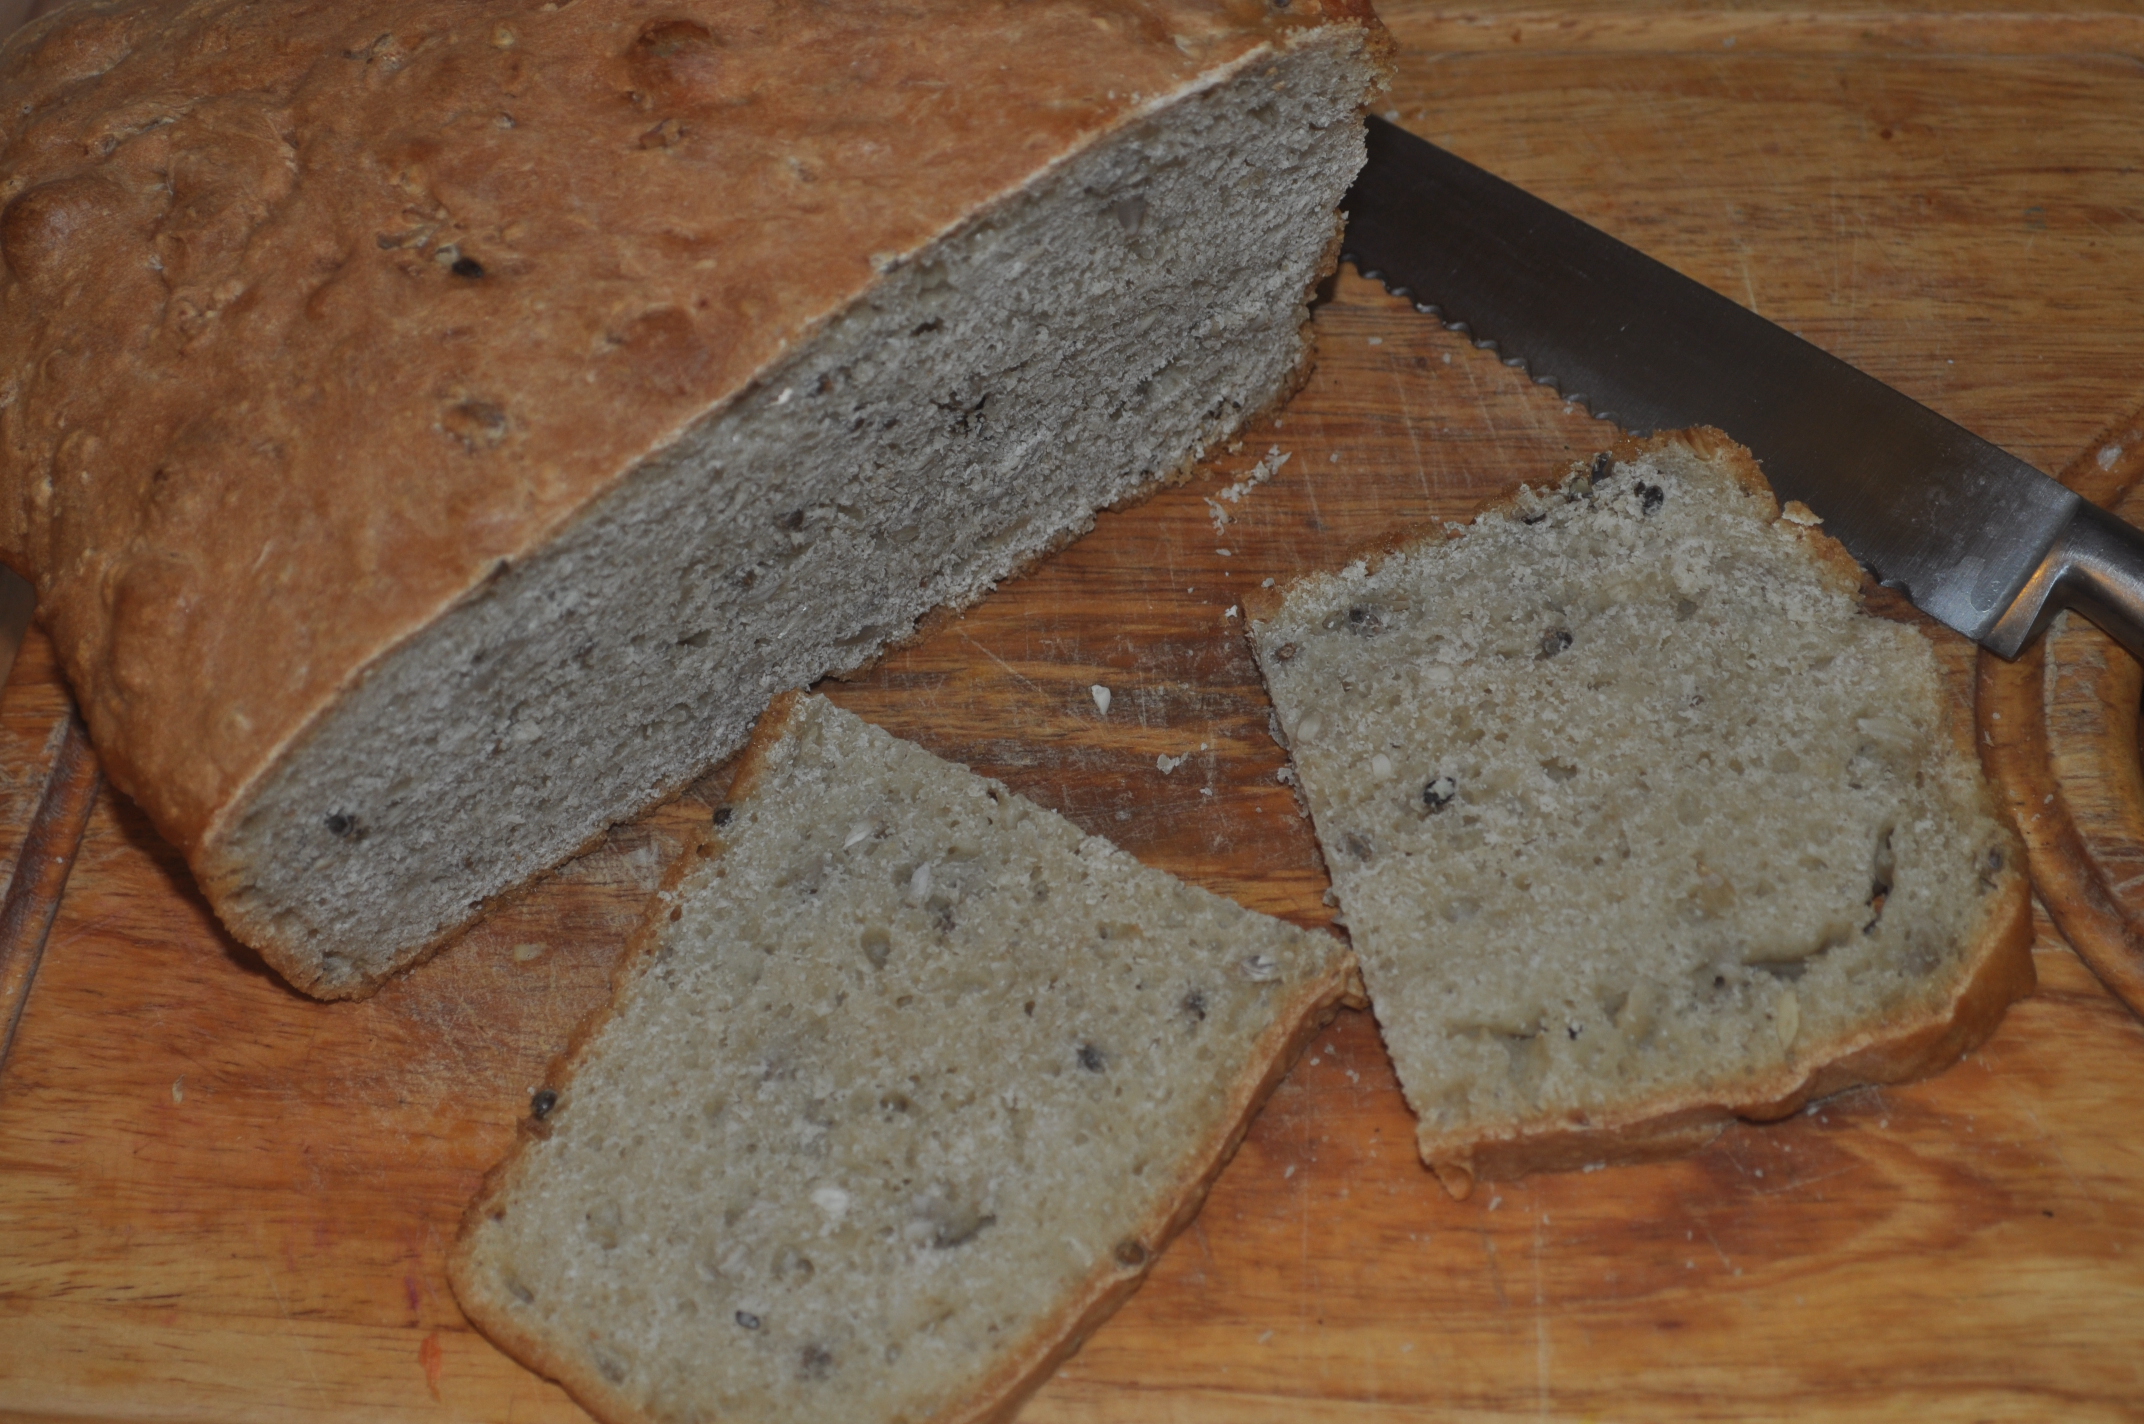
You can add salt to taste along with all manner of seeds and spices to jazz things up. Oats also work well. Contrary to popular opinion salt is not essential. As i like to lavish slices of bread with salted butter; it’s simply surplus to requirements.
Gluten free flours are trickier to work with but if you don’t have any allergies and simply want to reduce the amount of gluten in your loaf then I’d recommend working with spelt flour as it’s dead easy to use.
Too much dough for your bread tin?
No problem; use some to make a pizza base or for a fancy-pants artisan loaf; stick your bountiful dough in a large baking tin (or tray) – it’ll look magnificent and you can always freeze some for later.